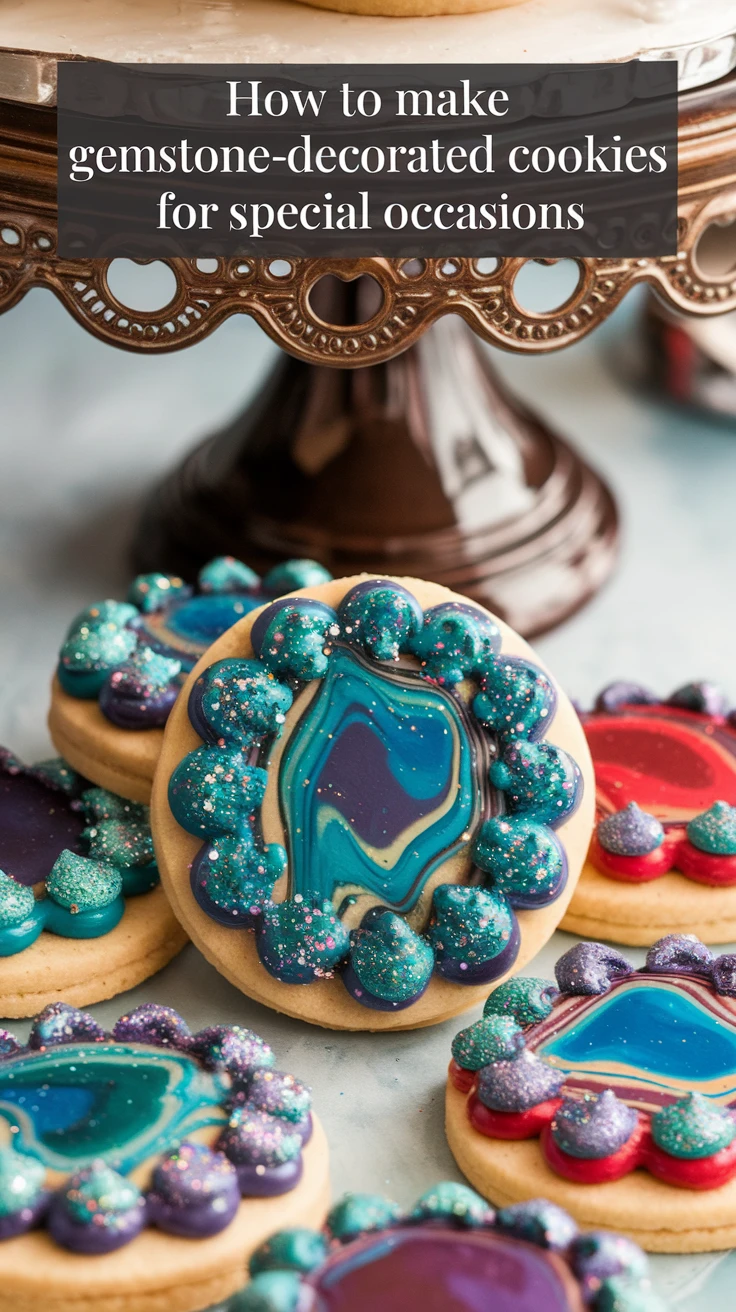
Introduction to Gemstone-Decorated Cookies
Have you ever marveled at the glimmering beauty of gemstones and wished you could capture that brilliance in a delicious treat? Well, you’re in luck! Gemstone-decorated cookies are the perfect blend of artistry and confectionery, making them an ideal choice for special occasions. Whether you’re celebrating a wedding, anniversary, or birthday, these cookies are bound to be a showstopper.
Why Gemstone-Decorated Cookies?
Incorporating gemstones into your cookie design offers a unique and elegant touch that can elevate any event. Unlike traditional cookies, these decorated delights mimic the sparkle and color of real gemstones, adding a sophisticated edge to your dessert table. Plus, they make for wonderful personalized gifts.
The Basics: Ingredients and Tools
Before diving into the creative process, let’s gather the essentials. Having the right ingredients and tools will set the foundation for your gemstone-decorated cookies. Here’s a detailed list to get you started.
Ingredients You’ll Need
- All-purpose flour
- Unsalted butter
- Granulated sugar
- Eggs
- Vanilla extract
- Confectioners’ sugar
- Food coloring (variety of colors for gemstone effect)
- Edible glitter or luster dust
Tools of the Trade
- Mixing bowls
- Electric mixer
- Rolling pin
- Cookie cutters (preferably round or oval to mimic gemstone shapes)
- Baking sheets
- Parchment paper
- Piping bags and tips
- Paintbrushes (for applying luster dust)
Step-by-Step Guide to Crafting Gemstone Cookies
Creating gemstone-decorated cookies can be a rewarding experience, especially when you see the final glistening product. Follow these steps to ensure your cookies turn out beautifully.
Step 1: Prepare the Cookie Dough
Start by creaming the butter and sugar together in a mixing bowl until light and fluffy. Add the eggs and vanilla extract, mixing well. Gradually incorporate the flour until a dough forms. Wrap the dough in plastic wrap and chill for at least an hour. Trust me, chilling the dough is crucial for maintaining the shape while baking.
Step 2: Shape and Bake
Preheat your oven to 350°F (175°C). Roll out the chilled dough on a floured surface to about 1/4 inch thickness. Use your cookie cutters to create gemstone shapes, then place them on a parchment-lined baking sheet. Bake for 10-12 minutes or until the edges are lightly golden. Let them cool completely before decorating.
Step 3: Create the Gemstone Effect
This is where the magic happens! Mix confectioners’ sugar with a small amount of water to form a thick icing. Divide and color the icing with your chosen hues, then pipe it onto the cookies. Use a toothpick to swirl the colors for a marbled effect. Once the icing sets, lightly dust the cookies with edible glitter or luster dust to mimic the shine of real gemstones.
Perfecting Your Gemstone Cookies
Now that you’ve got the basics down, it’s time to perfect the craft. Here are some tips and tricks I’ve picked up along the way that can help elevate your gemstone cookies to the next level.
Experiment with Colors
Gemstones come in a wide array of colors, and your cookies can too! Don’t be afraid to experiment with different color combinations to find what works best for your occasion. Blues and greens for a calming effect, or reds and purples for a more dramatic flair.
Use Quality Ingredients
It might sound cliché, but quality ingredients make a world of difference. Using pure vanilla extract instead of imitation, or high-quality edible glitter, can add that extra touch of elegance to your cookies.
Common Mistakes and How to Avoid Them
Even seasoned bakers can run into hiccups when trying something new. Here are some common pitfalls when making gemstone-decorated cookies and how you can sidestep them.
Not Chilling the Dough
Skipping the chilling process can lead to cookies spreading and losing their shape during baking. Always chill your dough for at least an hour.
Overmixing the Icing
Overmixing can cause air bubbles in your icing, which leads to a less smooth finish. Mix until just combined for the best results.
Using Too Much Food Coloring
It’s easy to go overboard with food coloring, which can alter the taste. Start with a small amount and gradually add more to reach your desired shade.
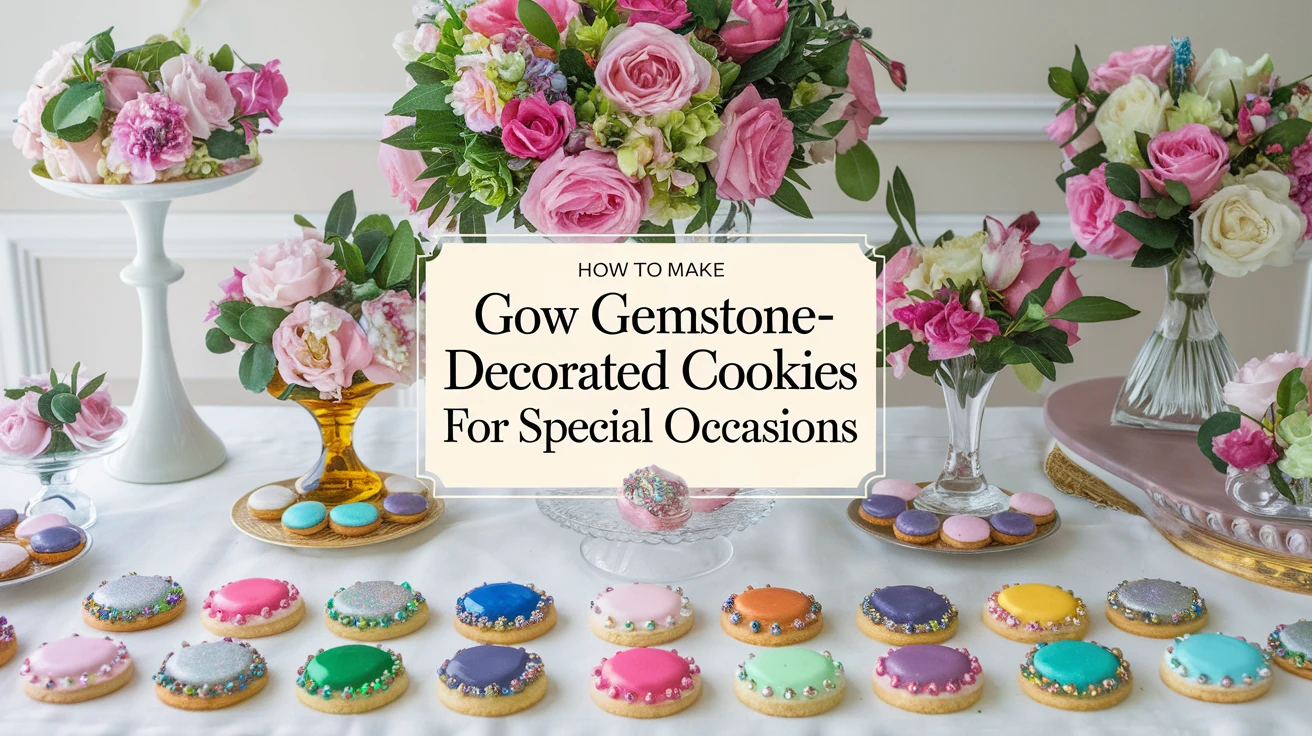
Conclusion: Dazzle with Gemstone-Decorated Cookies
Gemstone-decorated cookies are more than just a treat; they’re a work of art. With the right ingredients, tools, and techniques, you can create stunning cookies that are sure to impress at any special occasion. Remember to experiment, have fun, and let your creativity shine!
Key Takeaways
- Gemstone-decorated cookies add elegance and sophistication to any event.
- Quality ingredients and proper technique are key to success.
- Experiment with color and design to personalize your cookies.
- Chilling dough and careful icing are crucial steps.
Frequently Asked Questions
- What type of food coloring should I use? Gel food coloring is recommended for vibrant colors without altering the consistency of the icing.
- Can I make the dough ahead of time? Yes, you can prepare the dough and keep it refrigerated for up to 3 days.
- How do I store decorated cookies? Store them in an airtight container at room temperature for up to a week.
- Can I freeze gemstone-decorated cookies? Yes, you can freeze them, but it’s best to freeze the undecorated cookies and decorate them after thawing.
- Is edible glitter safe to eat? Yes, as long as it is labeled as edible, it’s safe to consume.
- How can I prevent my cookies from spreading? Ensure the dough is properly chilled and do not overbake.
- Can I use different shapes for the cookies? Absolutely! While round and oval shapes mimic gemstones, feel free to get creative.
- Why is my icing not shiny? Ensure to use luster dust or a high-gloss icing recipe for that gemstone shine.
- What’s the best way to apply luster dust? Use a small, clean paintbrush to lightly dust the surface of the icing once it has set.
- Can I use natural food coloring? Yes, natural food colorings are available, but they may result in softer colors.