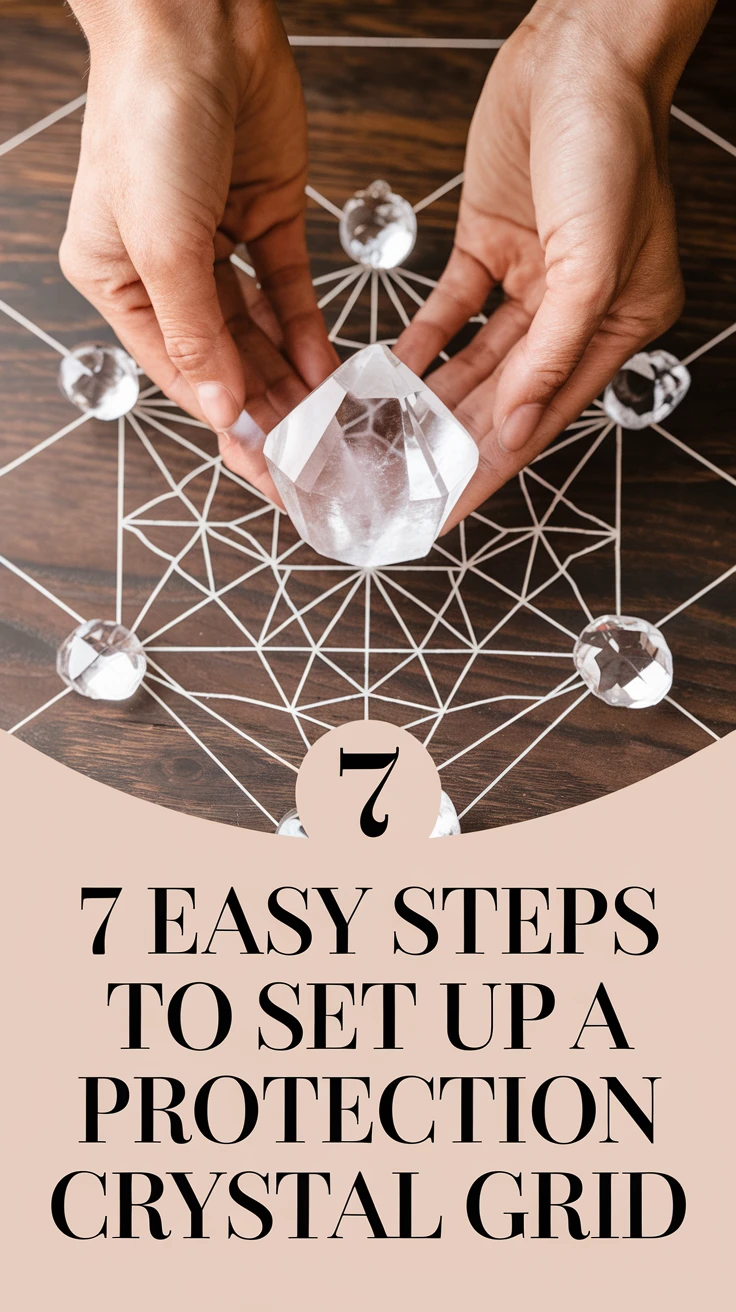
Introduction to Protection Crystal Grid Setup
Creating a protection crystal grid is one of the most powerful ways to establish a shield of positive energy around your space. As someone who’s been working with crystal grids for over a decade, I can tell you that mastering your protection crystal grid setup can transform your home’s energy and your personal sense of security. Whether you’re dealing with negative energy at work, seeking to protect your home, or simply wanting to create a sacred space, this guide will walk you through the process step by step.
Before we dive into the specifics, let’s understand what makes protection crystal grids so effective. These geometric arrangements of crystals work together to create a unified energy field, amplifying the protective properties of each stone while creating a synchronized barrier against negative influences.
- Protection grids can shield against electromagnetic frequencies
- They help maintain positive energy in your space
- Crystal grids can be customized for specific types of protection
- The geometric patterns enhance the crystals’ natural properties
1. Choosing Your Protection Crystals
The foundation of any effective protection crystal grid setup begins with selecting the right stones. I remember my first grid where I simply used the prettiest crystals I owned – needless to say, it wasn’t as effective as it could have been! Let’s explore the most powerful crystals for protection work.
| Crystal | Protection Properties |
|---|---|
| Black Tourmaline | Grounding and negative energy absorption |
| Obsidian | Psychic protection and energy clearing |
| Amethyst | Spiritual protection and purification |
| Clear Quartz | Energy amplification and programming |
- Choose one main center stone for your primary protection focus
- Select 6-8 supporting crystals for the outer grid
- Include at least one grounding stone
- Consider combining different protection properties
Pro tip: When selecting crystals, hold each one and trust your intuition – the stones that feel warmest or create a slight tingling sensation are often the ones most attuned to your energy.
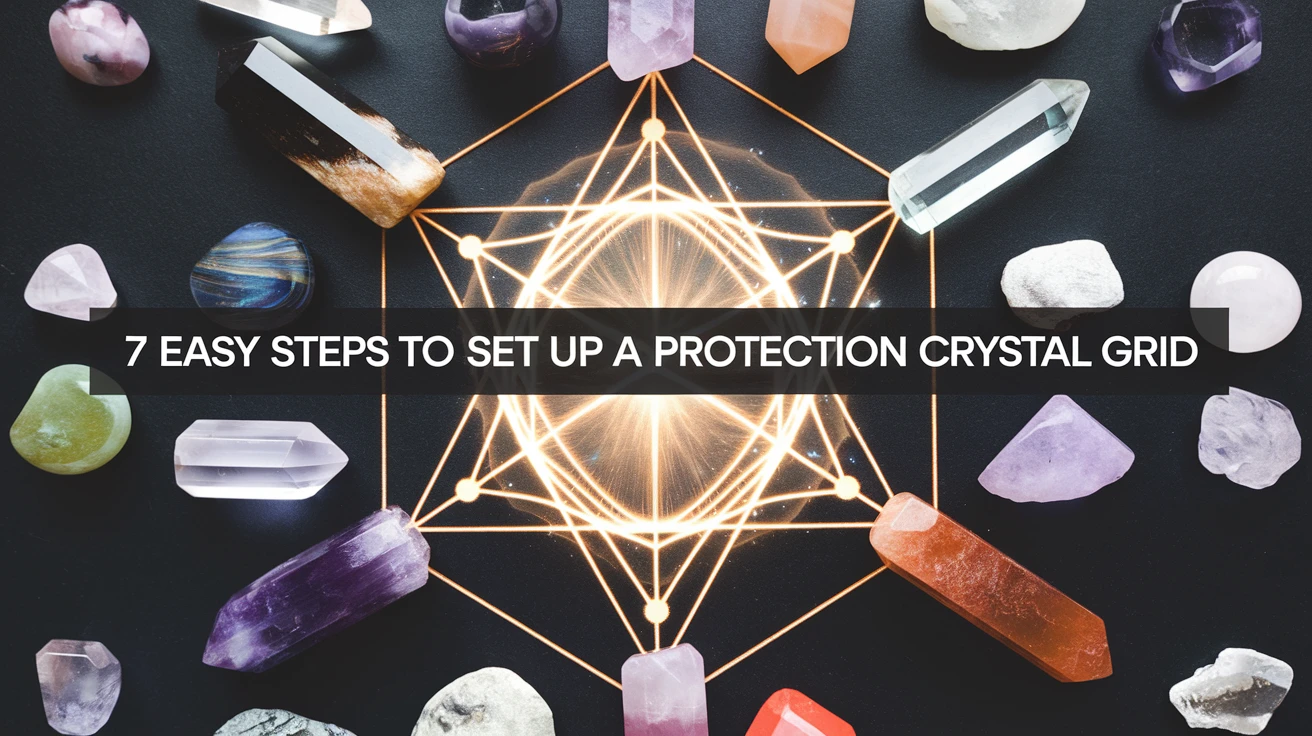
2. Selecting a Sacred Geometric Pattern
The geometric pattern you choose for your protection crystal grid setup is just as important as the crystals themselves. Each pattern carries its own energy and purpose. From my experience, simpler patterns are often more effective for protection work than complex ones.
- Hexagon: For all-around protection
- Square: For foundation and stability
- Triangle: For powerful protective barriers
- Circle: For continuous flowing protection
Consider drawing your chosen pattern on a piece of paper or using a grid cloth to maintain precise geometry. The more exact your pattern, the more focused your grid’s energy will be.
Pro tip: Start with a simple hexagonal pattern if you’re new to grid work – it’s naturally protective and relatively easy to balance.
3. Cleansing Your Crystals and Space
Before setting up your protection crystal grid, it’s crucial to cleanse both your crystals and the space where you’ll be working. I once skipped this step and found my grid’s energy feeling muddled and ineffective.
- Cleanse your crystals using your preferred method:
- Smudging with sage or palo santo
- Moonlight bathing
- Sound cleansing with bells or singing bowls
- Salt water (for appropriate crystals only)
- Clear your workspace:
- Remove clutter and dust
- Smudge the area
- Set protective boundaries
Pro tip: Create a cleansing ritual that resonates with you – consistency in your practice enhances the grid’s effectiveness.
4. Setting Your Intention
The power of your protection crystal grid setup largely depends on the clarity and strength of your intention. This is where many practitioners rush through, but it’s worth taking extra time to really focus your energy.
- Write down your specific protection intention
- Meditate on your purpose for the grid
- Visualize the type of protection you’re seeking
- Consider who and what you’re protecting
Pro tip: Speak your intention aloud while holding each crystal – this helps program them with your specific protective purpose.
5. Placing the Center Stone
The center stone acts as the heart of your protection crystal grid setup. This is where your primary protective energy will emanate from, so placement is crucial.
- Choose your most powerful protection stone for the center
- Align it with your grid’s pattern center point
- Hold it between your palms and charge it with your intention
- Place it deliberately and mindfully
Pro tip: Use a larger stone for the center to help anchor the grid’s energy more effectively.
6. Arranging the Outer Crystals
The arrangement of your outer crystals creates the protective barrier and determines how energy flows through your grid. This step requires patience and attention to detail.
- Place crystals at each geometric point
- Ensure points face inward toward center stone
- Maintain equal spacing between crystals
- Consider crystal size and energy compatibility
Pro tip: Use smaller crystals of the same type at opposite points to create balanced energy flow.
7. Activating Your Grid
The final step in your protection crystal grid setup is activation, which brings all elements together into a cohesive energy field.
- Use a clear quartz wand or your finger to connect the points
- Start from the center and trace to each outer crystal
- Move clockwise around the grid
- Visualize protective light filling the grid
Pro tip: Maintain regular activation by repeating this process weekly to keep your grid’s energy strong and focused.
Key Takeaways
- Choose crystals with specific protective properties
- Use sacred geometry to enhance your grid’s power
- Thoroughly cleanse all components before setup
- Set clear, focused intentions
- Pay attention to crystal placement and orientation
- Activate your grid regularly
- Trust your intuition throughout the process
Conclusion
Creating an effective protection crystal grid setup is both an art and a science. By following these seven steps, you’ll be able to create a powerful protective energy field that serves your specific needs. Remember that practice makes perfect, and don’t be afraid to adjust your grid as you become more experienced. The more you work with crystal grids, the more intuitive the process will become.
Frequently Asked Questions
How often should I reset my protection crystal grid?
Reset your grid during the new moon or every 4-6 weeks, or whenever you feel its energy becoming less effective.
Can I use substitute crystals if I don’t have the recommended ones?
Yes, trust your intuition and use crystals with similar properties. Black tourmaline can be substituted with obsidian or black onyx for protection.
What’s the best time to set up a protection grid?
The new moon is ideal for setting up protection grids, but any time you feel called to create one is appropriate.
How do I know if my grid is working?
You may notice improved energy in your space, fewer negative occurrences, and a general sense of safety and security.
Can I move my grid once it’s set up?
While it’s best to keep your grid in place, if you must move it, deactivate it first, then reset it in the new location.
